Ctrl / Cmd + C: Copy elements Ctrl / Cmd + V: Paste elements Shift + click: Multiple selection Ctrl / Cmd + click: Multiple selection (selective) Ctrl / Cmd + O: Open project Ctrl / Cmd + S: Save project Ctrl / Cmd + Shift + N: Create a new project p: Open panorama pool a: Open audio pool v: Open video pool i: Open image pool (Imagepool) Esc: Close pop-up window
Interaction elements
Basic elements
Waypoints lead to another connected scene when clicked.
Invisible waypoints work the same way but are not visible as interaction points.
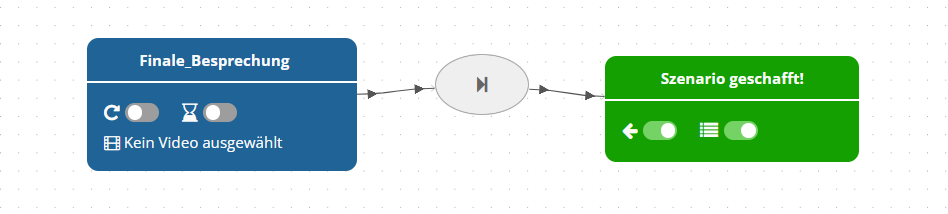
Automatic transitions do not appear as buttons in the scenario. At the end of the current scene video, the program automatically switches to the connected scene.
Use has a different icon from a waypoint, suggesting “use” rather than “move.”
Text points let you describe custom actions—what should happen when a specific button is clicked—in readable text.
Multiple Choice
Dialog is a multiple-choice display, usually used to present response options for something said earlier in the video. Up to 4 options can be linked through the option fields and displayed as readable text.
Quiz is a multiple-choice display with a question at its center. The option fields then display the possible answers and lead to the adjacent scenes/events.
Text content
The Text field displays brief information or longer passages and can optionally be collapsed. It can also contain web links. Unlike a text point, it cannot be used to switch scenes.
Notice is not visible as an interaction element. Instead, the configured text message appears after the specified number of seconds.
Media
Image places an image in a scene as a thumbnail. Clicking the image opens a full-size view.
The video element lets you integrate videos directly into the scene – either via a URL (no YouTube links) or by uploading a file. In addition to the volume, you can configure whether the video starts when the scene begins, whether it loops continuously, whether it can be collapsed and, if so, whether it is collapsed at the start of the scene.
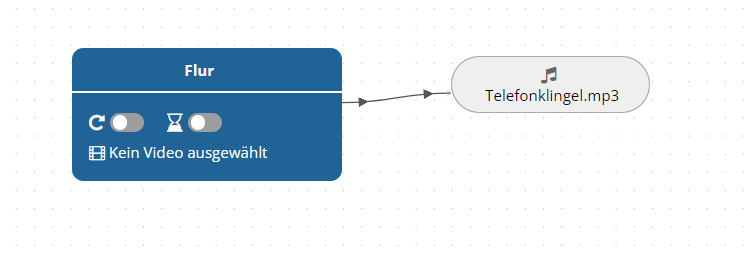
Audio is not visible as an interaction element and automatically plays the selected audio file when the scene begins. It can therefore be used for dubbing, separate music, or ambient sounds.
Selectable audio works like a media player. Users can click a play button to play the configured audio file.
Audio waypoint works like the selectable audio element. However, when the audio ends, the scenario switches to the linked scene.
Special elements
The Checklist element can be used to add interactive tasks to a scene. When you insert a checklist, you first specify how many interaction elements it will contain and which are defined as correct or incorrect for evaluation. While using the scenario, users can select these elements. The system then checks whether all correct elements have been selected without any additional incorrect elements. You can then create two subsequent paths in the editor:
one path if the checklist was completed correctly,
an alternative path if the selection is incomplete or incorrect.
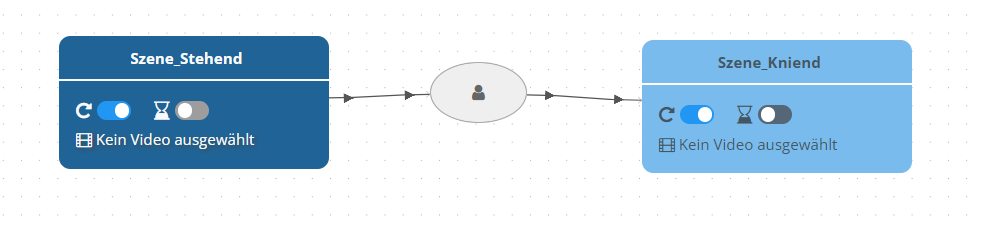
Action: Kneel is not visible as an interaction element. Instead, it switches to the linked scene when users physically kneel or lower their head significantly. This interaction element only works with a VR headset and acts as a regular waypoint in the PaneoVR Web Player.
End nodes
Scenario completed and Scenario failed are treated like regular scenes but end the scenario.
When Scenario completed is selected, the active scene is shown in green and the scenario counts as successfully completed. The switch on the left displays a button that returns users to the current scene so they can continue the scenario; the switch on the right displays a button that closes the scenario.
Scenario failed does the same but colors the room red.
Switch scenario enables a seamless transition to another project.
Documentation
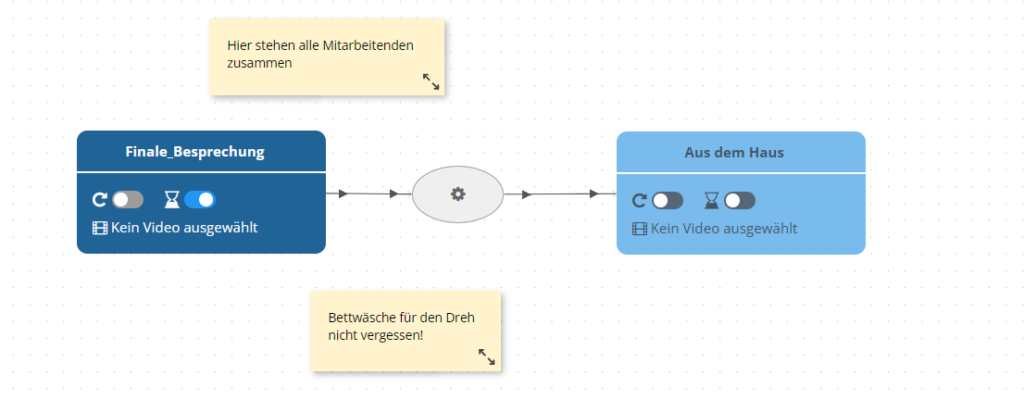
A simple comment field lets you add notes to the diagram, while a grouping frame lets you visually associate elements. These elements do not affect the scenario and are not visible in the PaneoVR players.
Modules
Display modules
Module: Invisible hides the interaction element from users (invisible hotspot).
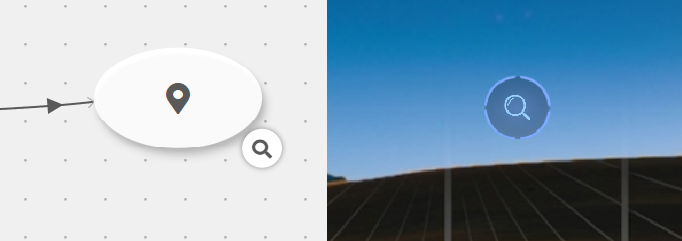
Module: Inspect requires users to view/inspect an object before proceeding and is represented by a magnifying-glass icon.
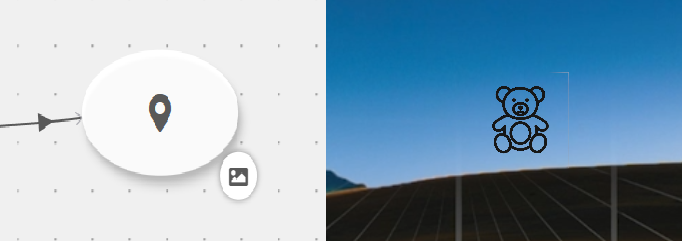
Module: Custom icon replaces the default icon of an interaction element with a custom image/icon.
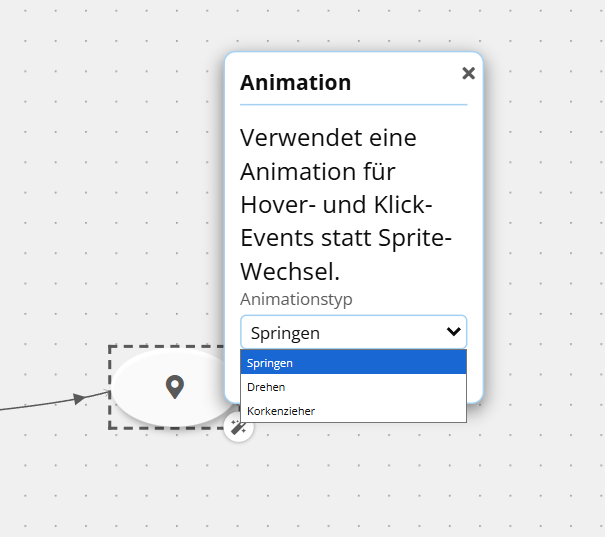
Module: Animation plays a short feedback animation on hover and click events.
Condition modules
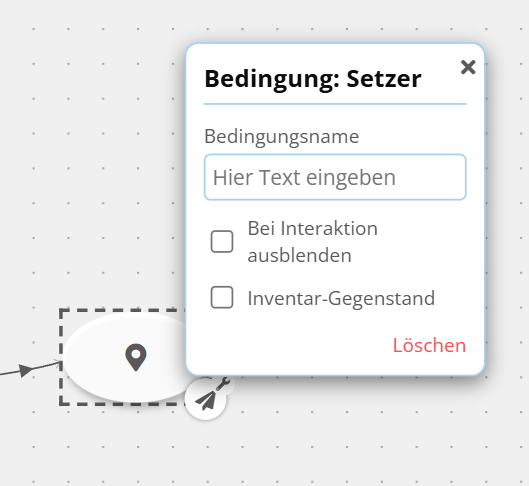
Module: Condition (setter) sets a condition to „true“ (e.g., a key has been picked up or an object has been viewed) and can optionally display it as an item in the inventory.
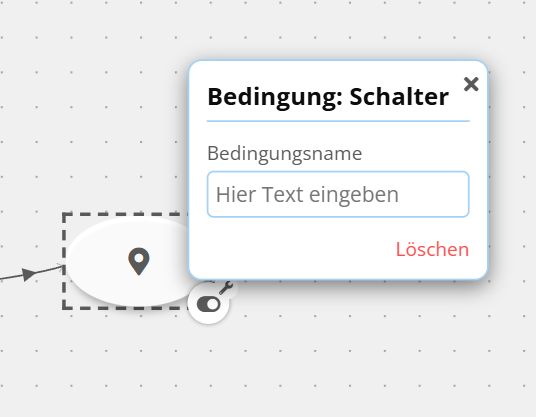
Module: Condition (switch) creates a switch that can be checked elsewhere (e.g., light switch on/off).
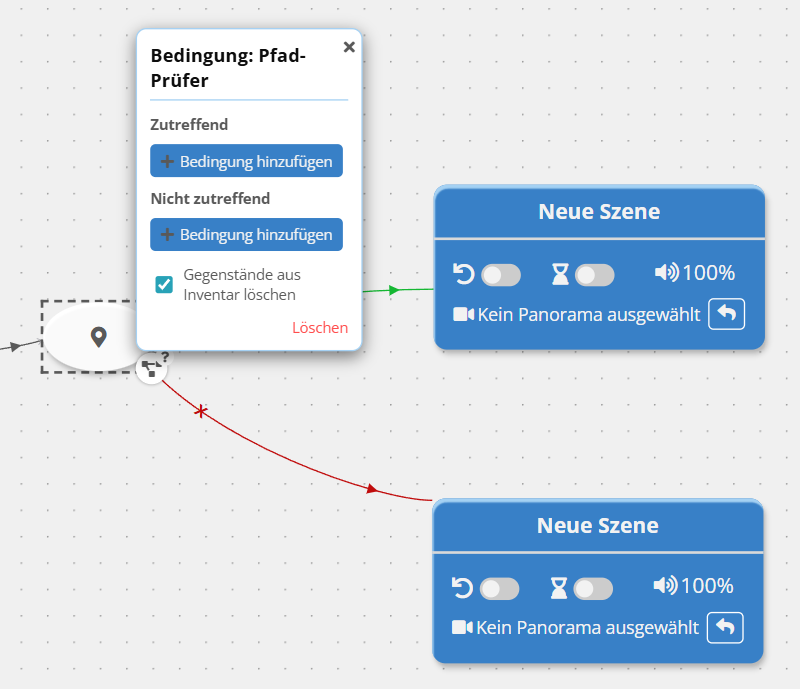
Module: Path checker evaluates conditions and uses the result (true/false) to decide which destination path to follow in the scenario diagram.
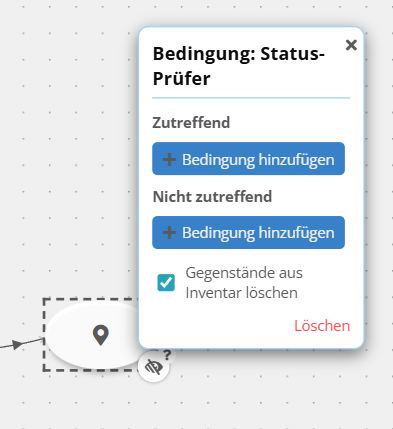
Module: Status checker evaluates conditions and activates or deactivates the interaction element or its modules based on the result.
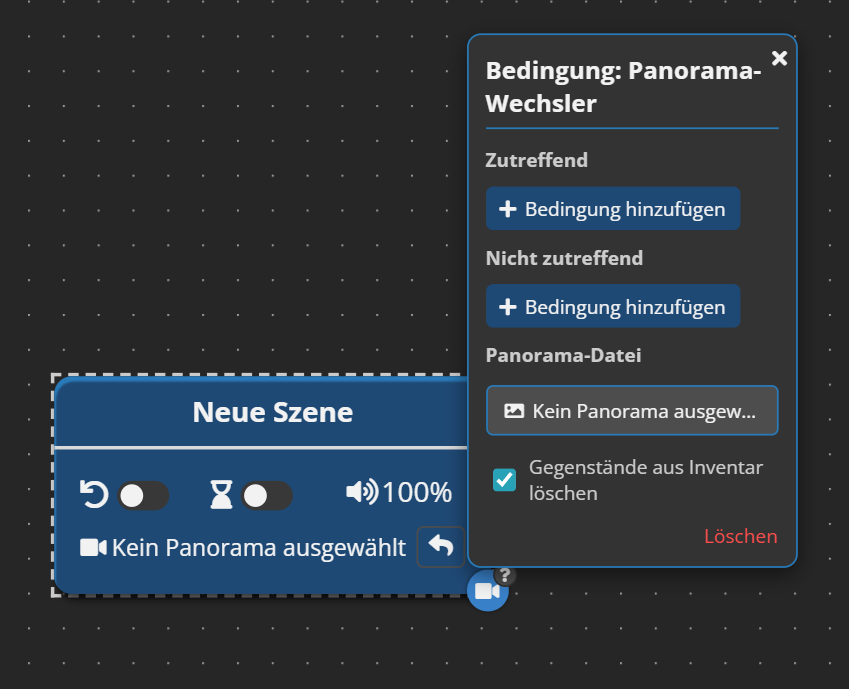
Scene module: Panorama switcher evaluates conditions and, when they are met, switches the scene’s panorama.
Event modules
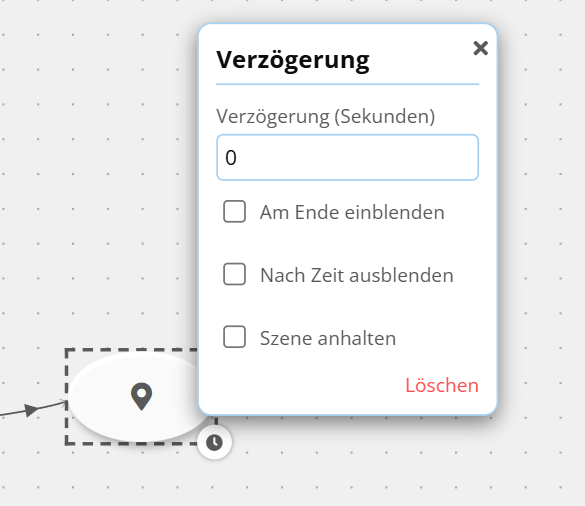
Module: Delay adds a delay before execution or hides the element again after a specified period.
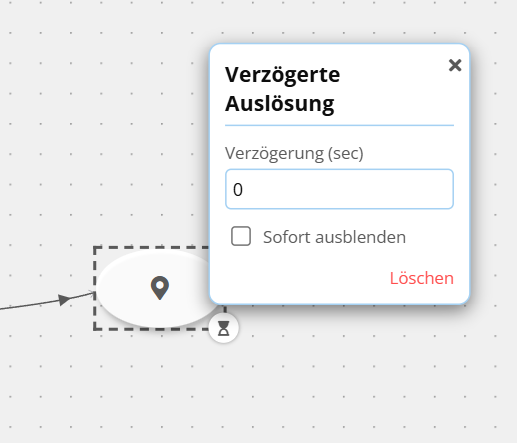
Module: Delayed trigger starts the configured action (switch scene, display image, …) after a delay of X seconds.
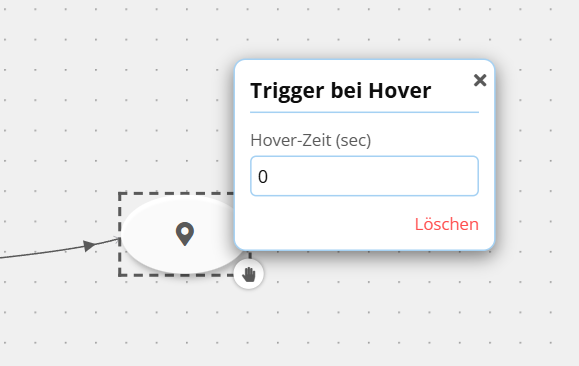
Module: Trigger on hover automatically triggers the interaction when the user hovers over it with the pointer for a specified time.
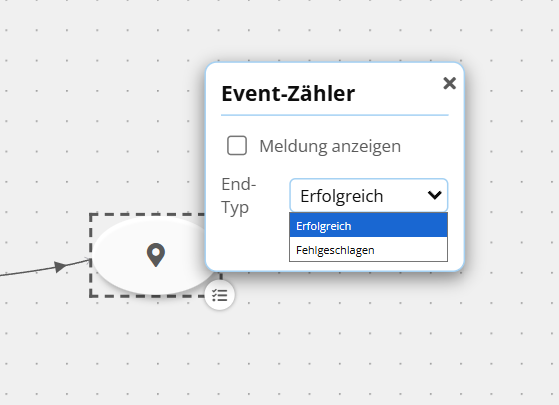
Module: Event counter displays the visual messages „correct“ and „incorrect“ (like the corresponding scenario endpoints) in addition to another interaction. It can silently record interactions as „correct“ or „failed“ so they can later be evaluated in the statistics tool.
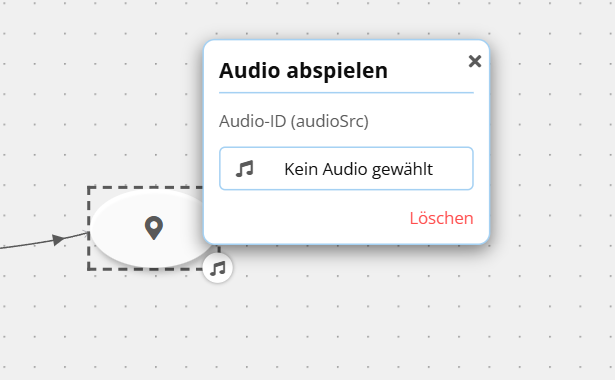
Module: Play audio plays an audio file when the interaction is triggered.
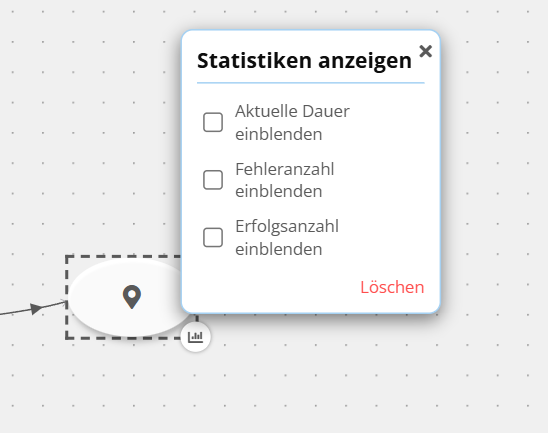
Module: Display statistics displays current information such as the number of errors or time spent in the scenario.
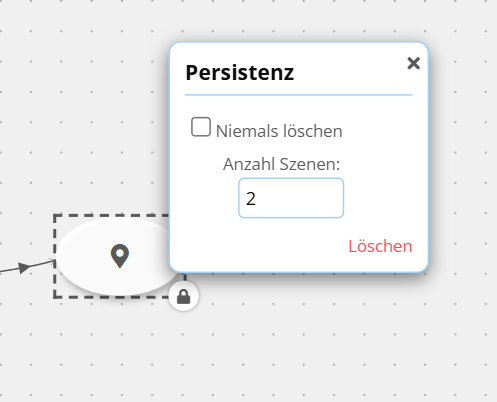
Module: Persistence prevents the associated element from being deleted when switching scenes. You can optionally define the number of scenes for which the element remains in place.
Scene modules
Scene module: Display video in 3D switches the scene to 3D display (stereoscopic). This module has no effect on non-3D panoramas.
Scene module: 180° video activates 180-degree mode for panoramas (for compatible media).
Scene module: Partial loop after one complete playback, loops the last X seconds of a panoramic video.
Scene module: Toggle floor turns the virtual floor in the scene on or off.
Pro Features
Content sharing / access control
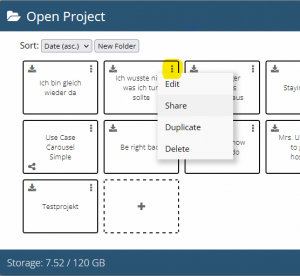
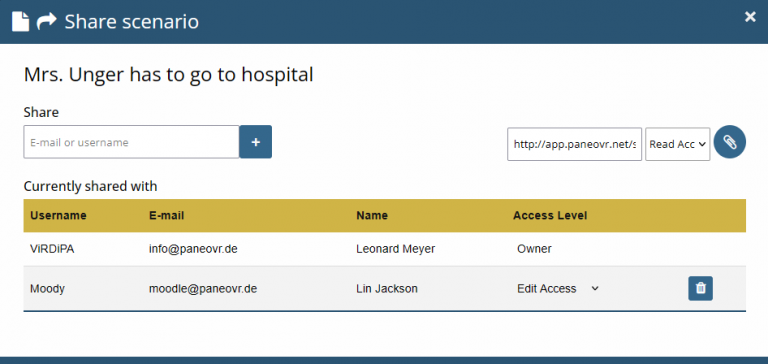
Projects and media can be made available to other users through „Share“ in the respective media pool, whether they need only to use the content, view a scenario diagram, or edit collaboratively. For the relevant item (e.g., a project), click „Share“ and use the window that opens to choose who you want to share it with.
You have two options: add users by email or create a share link that users can use to assign the project to themselves (with the specified access rights).
Classroom and remote control
The Classroom provides a simplified system for distributing content within PaneoVR. Instead of sharing created scenarios individually or installing them manually on each device, instructors can upload content once and distribute it to all participants in a session at the same time. This feature is particularly useful in classroom or institutional settings where multiple learners need to access the same material simultaneously. Simply click one of the „+“ buttons in a room you have created to add the desired material to it. For the added material („Showcase_Checkliste“ in the image, for example), you can then configure the access rights that classroom participants have to the material.
Classrooms also include a feature called Remote control that allows scenarios to be started or stopped simultaneously for signed-in users directly from the browser. In the remote-control module’s dropdown menu (the gray-outlined box), select the project you want to start. The room table shows which users are signed in and whether the scenario selected in the dropdown menu has already been downloaded. Press „Start“ to start the scenario for the selected users and see in real time which point in the scenario each user has reached.
Statistics
The Statistics tool in PaneoVR was developed to give instructors and researchers insight into user behavior in immersive learning environments. This feature allows instructors to collect user data on completed quizzes, checkpoints, or decision points in one of their Paneo scenarios. For example, the tool can record which options learners choose in dialogs, how long they remain in specific scenes, and how they perform on integrated tests. This data can be used to assess learning outcomes, monitor engagement, or even conduct educational research. Instructors can then use evidence to adapt their teaching strategies and tailor learning experiences. In the Paneo-Client, statistics are collected automatically as soon as the Collect user statistics toggle is enabled. The checkbox below it allows these statistics to be shared with the scenario creators.
Multiplayer
The Multiplayer mode allows multiple users to experience the same VR scenario simultaneously, making it a powerful tool for collaborative learning and real-time observation. Whether used for group work, role-playing, or team-based problem-solving, this feature creates a shared virtual environment where participants can interact, communicate, and make decisions together. Instructors can also join these sessions to observe learner behavior, provide immediate feedback, or guide reflection. This real-time collaboration in an immersive environment transforms VR from an individual activity into a social learning experience. In education, multiplayer mode supports everything from developing social skills to crisis simulations, making it an essential element of dynamic, group-oriented learning. To start a scenario in multiplayer mode, enable the Allow joining toggle in the scenario overview. The session automatically appears under the Open sessions tab, where other users can easily join it.